
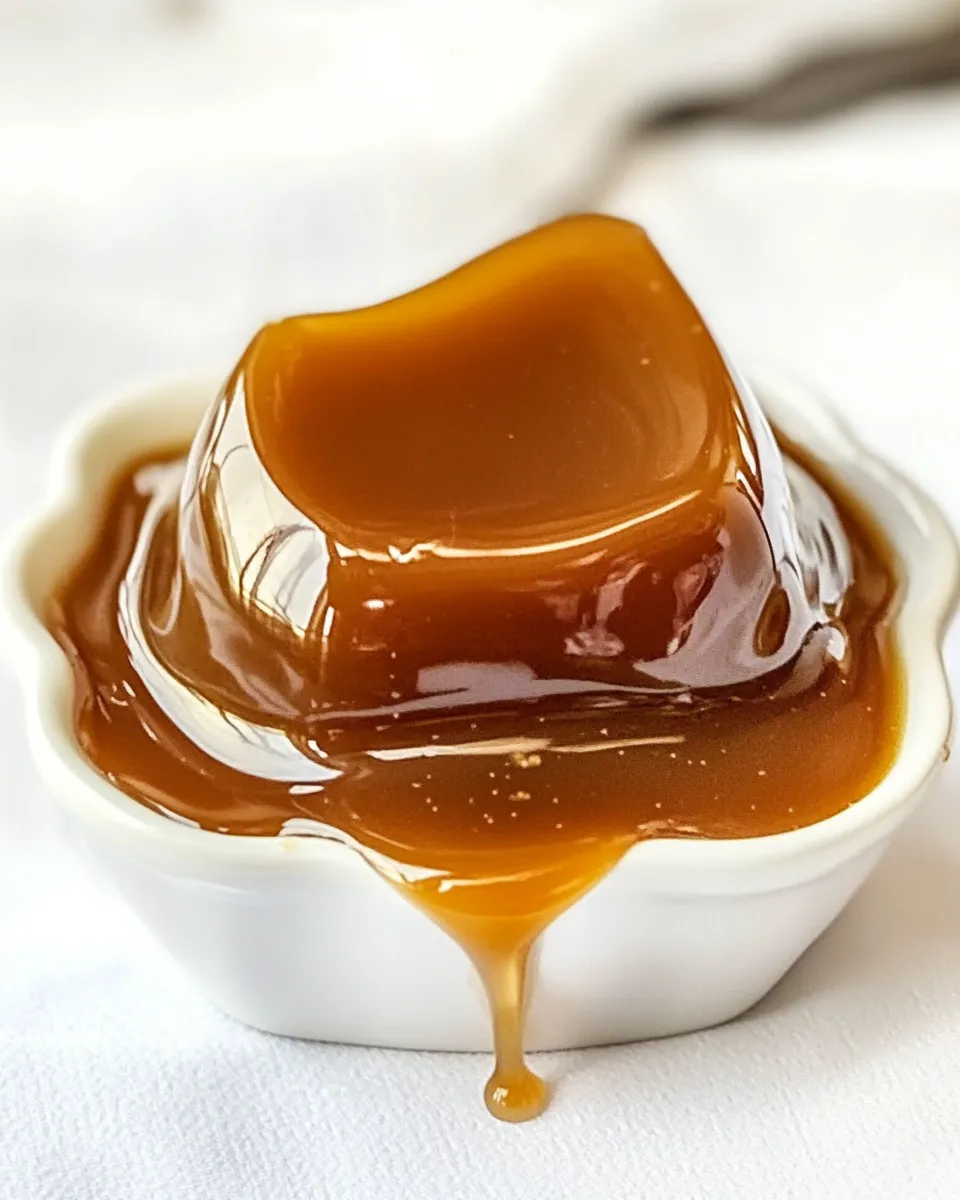
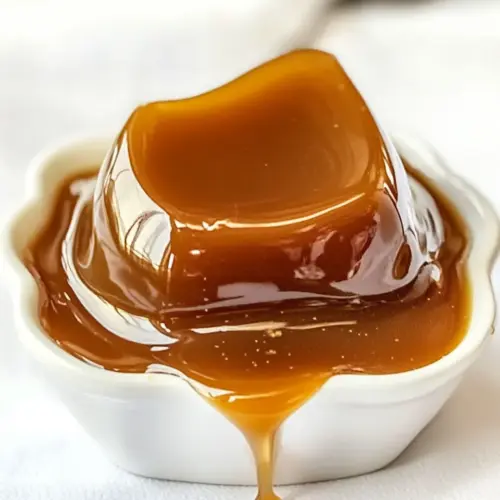
There’s something undeniably magical about salted caramel. Its rich, buttery flavor coupled with a hint of salt creates a delightful balance that can elevate any dessert. And what if I told you that you can whip up a delicious batch of salted caramel in just 5 minutes? That’s right! This 5-minute Salted Caramel recipe is as simple as it is satisfying. Whether you’re drizzling it over ice cream, incorporating it into a cake, or simply enjoying it by the spoonful, this recipe is sure to become a staple in your kitchen.
On this page
The Upside of 5-minute Salted Caramel

The beauty of this 5-minute Salted Caramel is its speed and simplicity. Unlike traditional caramel recipes that require tedious temperature monitoring and hours of simmering, this quick version allows you to enjoy the same luscious flavor without the wait. It’s perfect for last-minute desserts or when you want to impress guests without spending all day in the kitchen. Plus, it’s made with just a handful of ingredients, making it both accessible and delightful.
Ingredient Notes
- Unsalted butter (113g, cubed) – The base of your caramel, providing richness and a smooth texture. Make sure it’s at room temperature for easy melting.
- Packed brown sugar (200g) – This adds that deep, molasses flavor that is characteristic of caramel. The packing ensures that you get a concentrated sweetness.
- Milk (59ml) – Whole milk adds creaminess. You can substitute with a non-dairy milk if preferred, but keep in mind it may alter the flavor slightly.
- Vanilla extract (1 teaspoon) – A splash of this adds warm, aromatic notes that enhance the overall flavor of the caramel.
- Kosher salt or sea salt (to taste) – It’s all about balance! Adjust the salt level based on your taste preference for that perfect sweet and salty combo.
Equipment & Tools
- Medium saucepan – This is where the magic happens! A good quality saucepan distributes heat evenly.
- Wooden spoon or spatula – For stirring, ensure you have something sturdy to mix everything together.
- Measuring cups and spoons – Accuracy is key in making caramel, so have these on hand for precise measurements.
- Heatproof container – Once your caramel is ready, you’ll want to pour it into a container that can withstand heat.
5-minute Salted Caramel: Step-by-Step Guide

Step 1: Melt the Butter
In a medium saucepan over medium heat, add the cubed unsalted butter. Allow it to melt completely, stirring occasionally to ensure it doesn’t brown.
Step 2: Add Brown Sugar
Once the butter is melted, add the packed brown sugar. Stir continuously until the sugar is fully incorporated and the mixture starts to bubble.
Step 3: Pour in the Milk
Carefully add the milk to the saucepan. Be cautious as the mixture may bubble up. Stir until everything is well blended and smooth.
Step 4: Incorporate Vanilla and Salt
Remove the saucepan from the heat and stir in the vanilla extract and a pinch of kosher or sea salt. Taste and adjust the salt level to your preference.
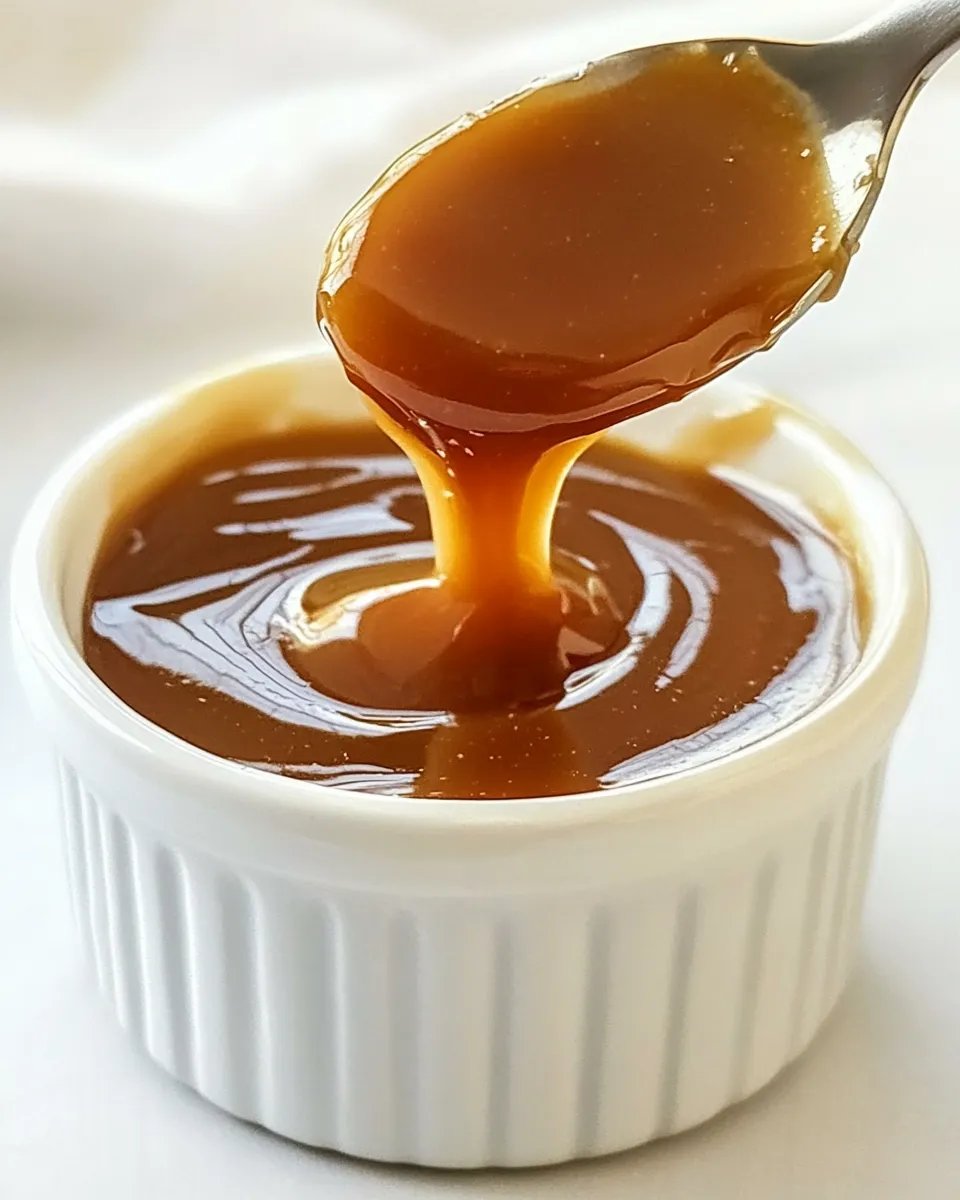
Step 5: Cool and Store
Pour the warm salted caramel into a heatproof container and let it cool. It will thicken as it cools. Once cooled, store it in the refrigerator for up to two weeks (if it lasts that long!).
Fit It to Your Goals
- Make it dairy-free: Substitute the unsalted butter with a plant-based alternative and use non-dairy milk.
- Adjust sweetness: If you prefer a less sweet caramel, reduce the amount of brown sugar slightly. Just be mindful that it could affect the texture.
- Experiment with flavors: Add a hint of espresso powder or a splash of bourbon for a unique twist!
- Use different salts: Try flavored salts, like smoked salt, for an exciting variation on the classic salted caramel.
Flavor Logic
The combination of sweet and salty is a universal crowd-pleaser. The brown sugar’s deep flavor complements the creamy butter, while the salt enhances the sweetness, creating a harmonious blend that dances on your taste buds. When you add vanilla extract, you introduce an aromatic element that ties everything together, making each spoonful utterly irresistible.
Make Ahead Like a Pro
This 5-minute Salted Caramel is not only quick to make but also a great make-ahead option. Store it in an airtight container in the refrigerator, and it will last for up to two weeks. When you’re ready to use it, simply warm it up in the microwave for a few seconds until it’s pourable again. This means you can always have a delicious topping on hand for everything from pancakes to brownies!
Common Qs About 5-minute Salted Caramel
Can I use granulated sugar instead of brown sugar?
While you can use granulated sugar, it will change the flavor profile significantly. Brown sugar adds depth and a hint of molasses that granulated sugar cannot replicate, so it’s best to stick to brown sugar for this recipe.
What can I use salted caramel for?
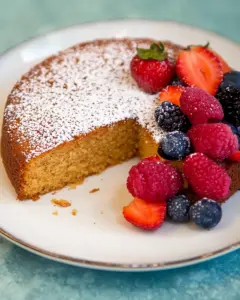
The possibilities are endless! Drizzle it over ice cream, mix it into desserts like brownies or cakes, use it as a dip for apples, or even add it to your morning coffee for an indulgent treat.
How can I make this salted caramel thicker or thinner?
To make it thicker, cook it a bit longer after adding the milk until it reaches your desired consistency. If it’s too thick, simply stir in a splash of milk until you reach the desired thickness.
Can I freeze salted caramel?
Yes! Salted caramel can be frozen for up to three months. Just be sure to store it in an airtight container. When you’re ready to use it, thaw it in the refrigerator and reheat gently.
Final Bite
There’s something wonderfully satisfying about creating a rich, velvety 5-minute Salted Caramel in your own kitchen. With just a few simple ingredients and minimal effort, you’ll have a treat that can transform any dessert or snack into an extraordinary delight. The next time you find yourself in need of a sweet indulgence, whip up this quick recipe, and you’ll be savoring the sweet and salty goodness in no time!
In conclusion, this 5-minute Salted Caramel is a game-changer for anyone who loves the combination of sweet and salty flavors. It’s easy to make, versatile, and absolutely delicious. Whether you’re enjoying it on its own or using it to elevate your favorite desserts, this recipe is sure to become a beloved favorite in your home. So gather your ingredients and get ready to embark on a delightful culinary adventure!
5-minute Salted Caramel
Ingredients
- 113 g Unsalted butter cubed, at room temperature
- 200 g Packed brown sugar
- 59 ml Milk whole or non-dairy
- 1 teaspoon Vanilla extract
- Kosher salt or sea salt to taste
Instructions
- In a medium saucepan over medium heat, add the cubed unsalted butter. Allow it to melt completely, stirring occasionally to ensure it doesn’t brown.
- Once the butter is melted, add the packed brown sugar. Stir continuously until the sugar is fully incorporated and the mixture starts to bubble.
- Carefully add the milk to the saucepan. Be cautious as the mixture may bubble up. Stir until everything is well blended and smooth.
- Remove the saucepan from the heat and stir in the vanilla extract and a pinch of kosher or sea salt. Taste and adjust the salt level to your preference.
- Pour the warm salted caramel into a heatproof container and let it cool. It will thicken as it cools. Once cooled, store it in the refrigerator for up to two weeks.
Equipment
- Medium saucepan
- Wooden spoon or spatula
- Measuring cups and spoons
- Heatproof container
Notes
- For a dairy-free version, use plant-based butter and non-dairy milk.
- Adjust the sweetness by slightly reducing the brown sugar.
- Add espresso powder or bourbon for a flavor twist!
- Experiment with different types of salts for unique variations.


Leave a Reply